Broken Harmony facility map
Learn the 1.3 layout so Heat, doors, and Patients stop feeling random.
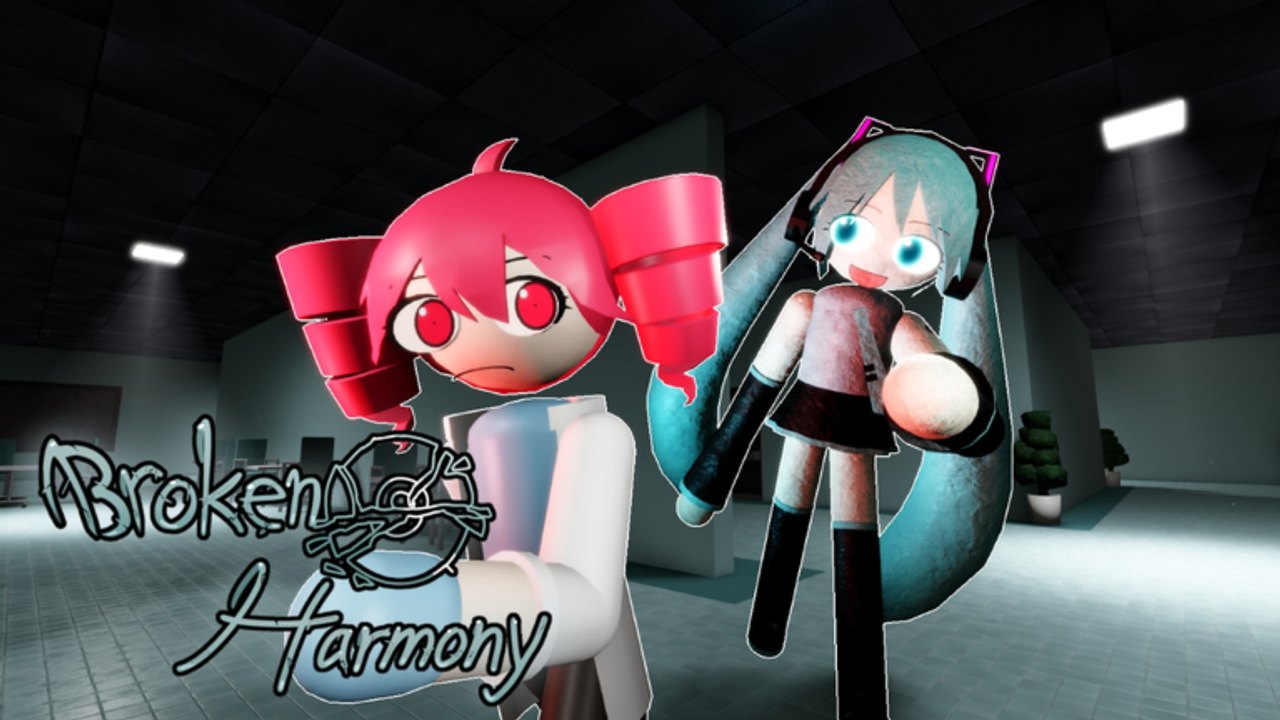
The current Broken Harmony facility is not the first map. Patch 1.3 shipped a new layout with a health GUI, ragdoll, VIP servers, and an update-log TV in the lobby. Patch 1.2.6 added the first microwave; 1.3.5 added a second. If you learned rooms from an April 2026 clip, the corners you remember may be gone. This page is the layout guide for the live Beta 1.5 building: where Scientists bleed the timer, where the Experiment should pre-place Leeking Heat, and which doors are actually loops instead of traps.
Read it next to getting started if you have not finished a round, and next to Patient tasks when you are ready to farm Data instead of sprinting in circles.
Lobby versus match
The lobby is a separate space. Locker, shop, settings, hitbox toggle, epilepsy warning, and the TV that prints patch fragments all live here. Roleplay servers from 1.3.5 also start here if you only wanted Elite screenshots. None of that geometry is the hunt map. When the round loads you drop into the facility proper — hallways, task rooms, the Test Room the Experiment breaks out of, and the door frames that generate most of the rage comments under the official trailer.
Copies of the place exist. Only group Broken Harmony, place 138057930391823, carries your Data. Confirm the ID on links before you grind a fake locker.
Rooms that matter
Test Room. Hunter spawn. Survivors should not camp the door “to see the model.” The Experiment is already louder than they think; standing there is a free first Punch.
Patient rooms. Map tasks added in 1.2.0. Each Patient wants four successful tunes. The GUI closes if you walk away, which is the correct panic button. Failed tunes highlight you and play a sound the hunter can path on. Place Heat on a Patient you have not finished if you are the Experiment — that is the abilities page in spatial form.
Microwaves. Easter-egg machines from 1.2.6 and 1.3.5. They are jokes, not win conditions. Do not die inside one during Last Standing.
Long halls. These are Leeking Heat highways. A trap at a T-junction covers two task routes. Scientists should cross halls at a walk unless a chase already started; stamina regen was slowed in 1.3.
Door frames. Closing a door in the hunter’s face buys a second. Chaining the same door until you trap yourself is how people “lose to the map.” Loop two frames and a corner, not one swinging slab.
Callouts without a published grid
3uf Studios has not shipped an official labeled minimap. Players invent names from locker captions and VOD comments: Test Room, pink hall, task closet, microwave nook. Use whatever your stack already says. What matters is the job of the room:
- Can a Patient be finished here without a 20-second walk back?
- Does a Heat puddle cut two routes at once?
- Is there a door that resets line of sight for Raging Eye?
- When Last Standing hits, can you mute music and still hear footsteps around this corner?
If a callout fails those tests, drop it. Fancy names do not cut the timer.
Scientist pathing
Spawn, walk, listen. Sprint only off a corner or through a door. Your first loop should hit a Patient, not a cosmetic camera angle. Four tunes pay 60 Data and 20 seconds of clock if you do not fail. After two tunes, leave if you hear Punch — 1.2 pays per success, not all-or-nothing.
When one teammate remains, you are no longer farming. The map becomes a mute-audio loop. Heat is the only damage that still hits a perfect juker, so avoid the junctions you used as task shortcuts. The Scientist survival guide covers stamina; this page only tells you which geometry to spend it on.
Class S cannot open Patient GUIs. If you bought the gun, your map job is hallway escort, not tuning. Range was cut 200 → 100 in 1.3.5, so you hold the medium halls, not the far catwalk. Details on Class S and the Class S skins board.
Experiment pathing
Break out, do not tunnel the first coat. Check which Patients still have unfinished bars. Drop Heat on the one with two tunes left. Use Eye after a door, not while you already see the survivor. Punch is 2 seconds; whiffing in a narrow frame is a gift.
If scientists split three rooms, you cannot visit all of them. Pick the pair that share a hall. The 1.3.5 Heat scan (2-second highlight, 5-second speed if someone stands too close) is built for those junctions. Full numbers sit on the Experiment role page.
Lighting and skins
Dark tiles punish busy outlines. Default and Insatiable read in most halls; Sakura and Inferior VIP vanish in Heat glow. Rank cosmetics after you know the rooms: Experiment skins and Scientist skins. Wear Default while you learn Patients so particles do not steal the green line.
After 1.5
The Roblox icon still says Beta 1.5 as of 28 August 2026. Visits sit around 8 million. If 3uf Studios ships another floor, this page will change before we invent a new callout sheet. Until then, trust the live doors over any Fandom screenshot. Report bugs to the studio, not to this unofficial wiki.
The video in the middle of this article is a real facility run so you can see hallway width and hunter silhouette before you queue. Pair it with controls so sprint and peek match the geometry you just watched.
Frequently Asked Questions
Quick answers for Scientist, Experiment, and Class S players.
Is there an official Broken Harmony map image?
No labeled minimap from 3uf Studios. Use the callouts on this page with the live facility and the getting started spawn notes.
Did the map change in patch 1.3?
Yes. 1.3 shipped a new layout plus lobby TV and ragdoll. Older VODs are unreliable. See patch 1.3.
Where should Experiment place Leeking Heat?
On a Patient or T-junction that two routes share. Ability numbers live on the abilities guide.
Do microwaves help you win?
No. They are lobby-adjacent jokes from 1.2.6 and 1.3.5. Tasks and doors win rounds.